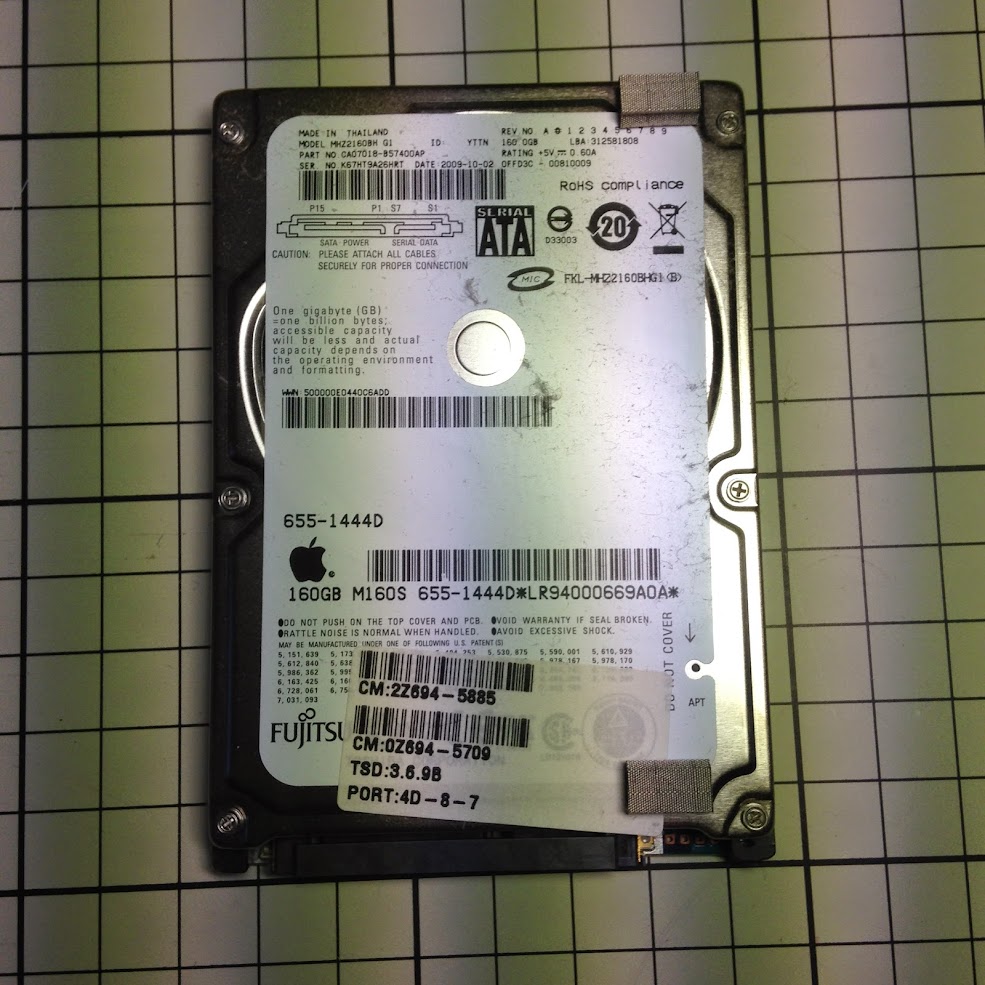
My Dad’s aging Mac Mini has done him a great service. A late 2009 A1283 model we’ve already upgraded the RAM to 8GB but didn’t take the opportunity to address the 160gig hard drive. Sadly for Dad this meant, while processing photos, he ran out of space at the weekend. No problem…
Lots of 2.5inch replacement options: SSD, capacity, green credentials and performance. Realistically the Mac Mini is 5 years old and we’re into bonus ownership and usage time. For £47 from Overclockers a Western Digital 7200rpm Black Scorpio seemed the best compromise. It would offer Dad another 500+gig and slightly more performance over the original 160gig 5400rpm drive. Slightly concerned by the additional heat 7200rpm might bring but lots of blog posts and Google results showed nothing but positive reviews and successful upgrades.
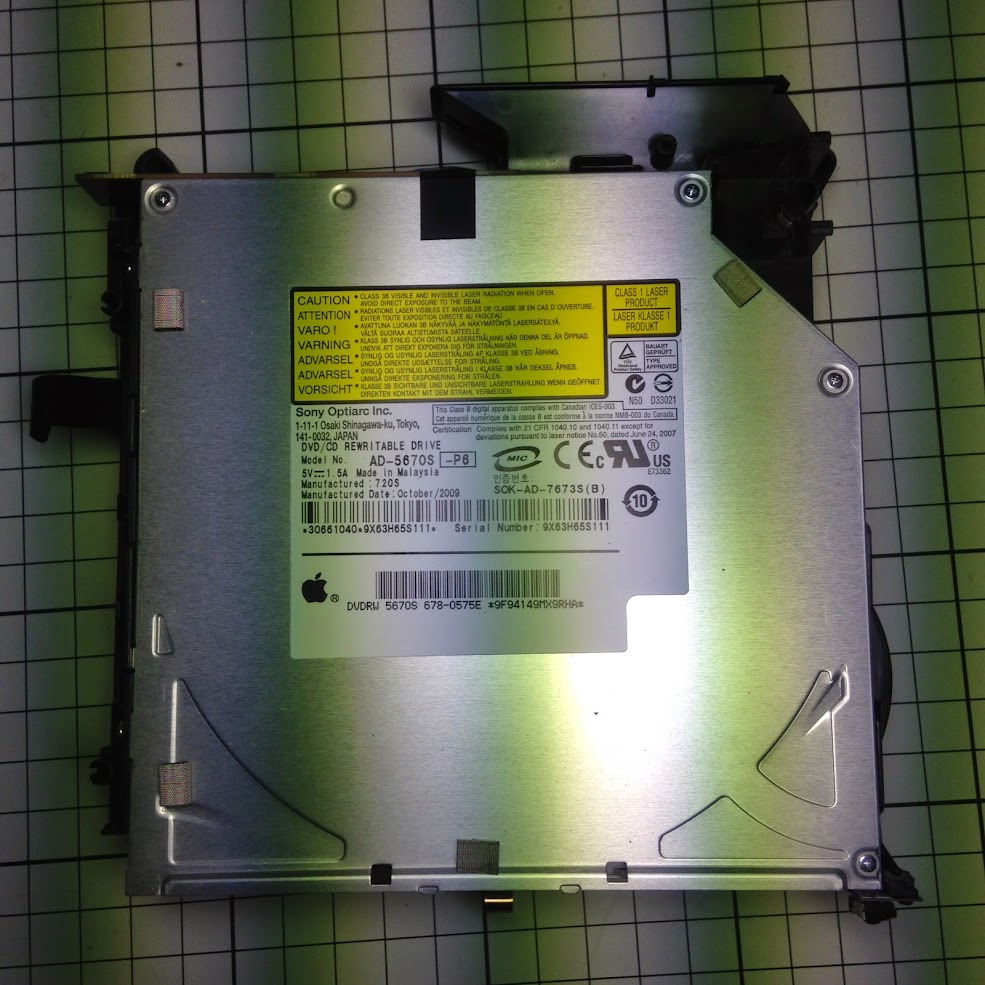
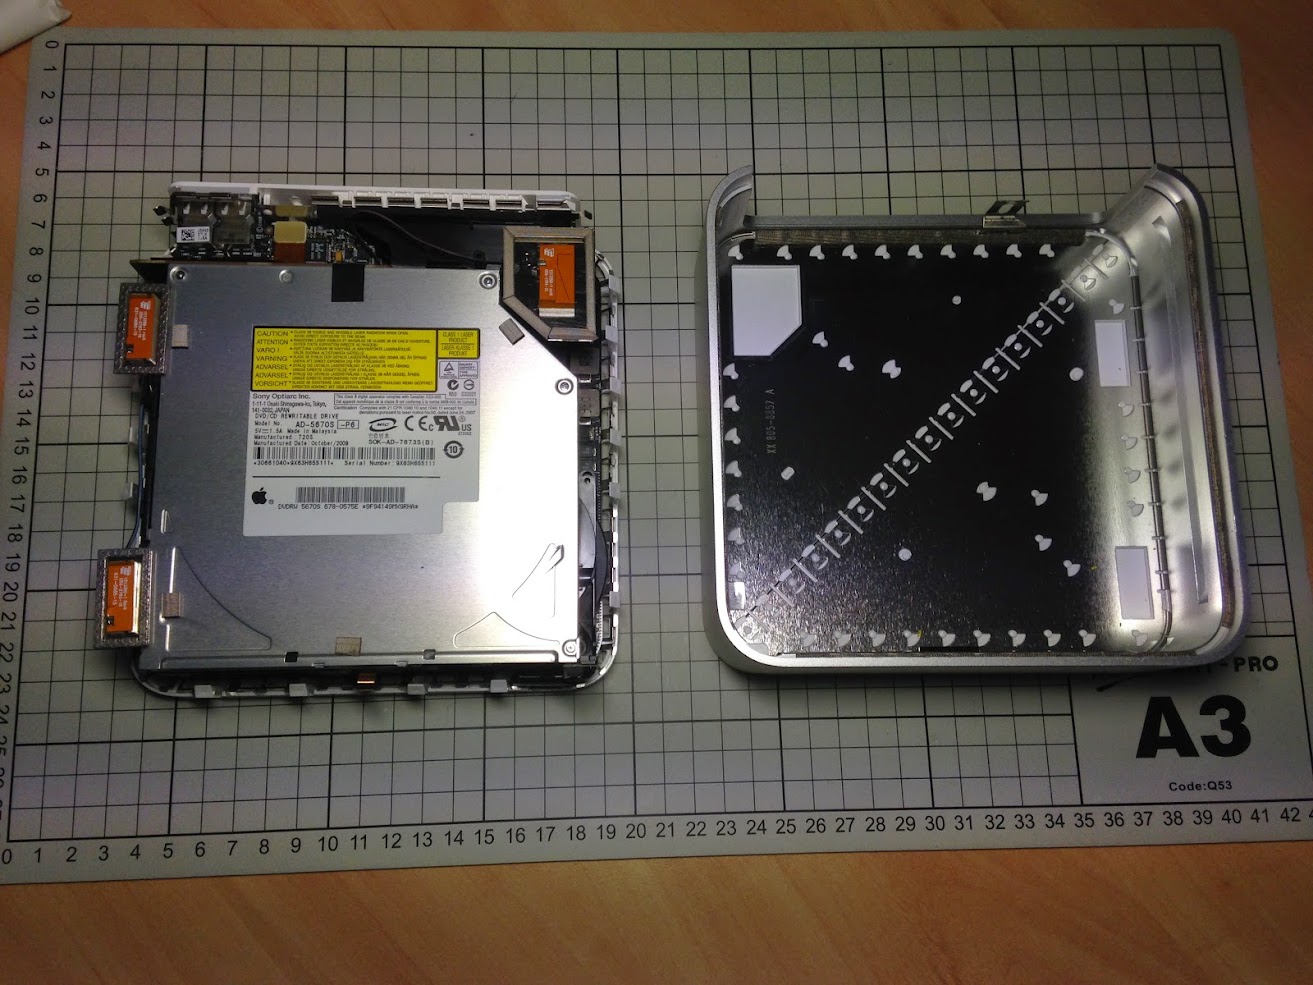
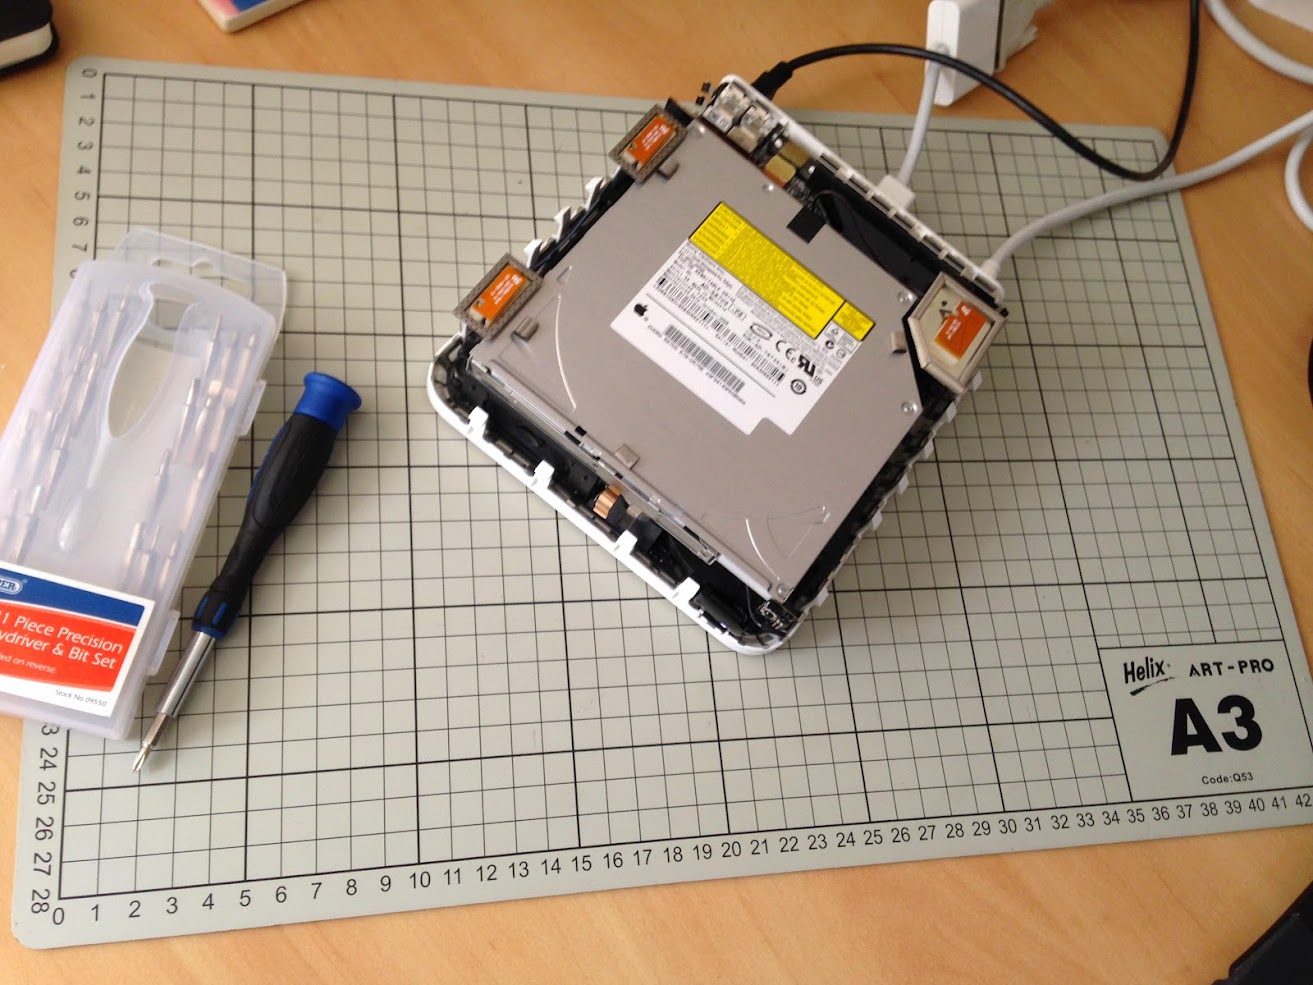
Using iFixit and having already been through the process the removal of the drive was relatively simple. The Mac Mini really is the hobbyist’s Mac. Truer to Apple’s hobby builder origins. Try upgrading the hdd on an iMac… RAM no problem, hdd not so much…. Because Dad’s Mac Mini was running well, apart from the lack of hdd space, I elected to clone the drive rather than backup and rebuild it with a new OS install and Time Machine restore.
Clonezilla is a fully featured open source option for cloning drives. It’s also the cloning tool I’m most familiar with. Cloning the drive with Clonezilla has only one limitation: the destination must be the same size or larger than the source. There are a few ways to hack around this but thankfully in this case, going from 160gig to 750gig, is easy. Once cloned I’d need to re-size the main partition to use the additional space. Cloning this way saved a lot of time. For a few button presses and several hours sat in the background we have a backup image of Dad’s drive and no need to sit through installs and lengthy file transfers. Had Dad been suffering other issues with his Mac Mini, or had it been a Windows machine, I’d of been tempted to use this as an opportunity to fully rebuild.
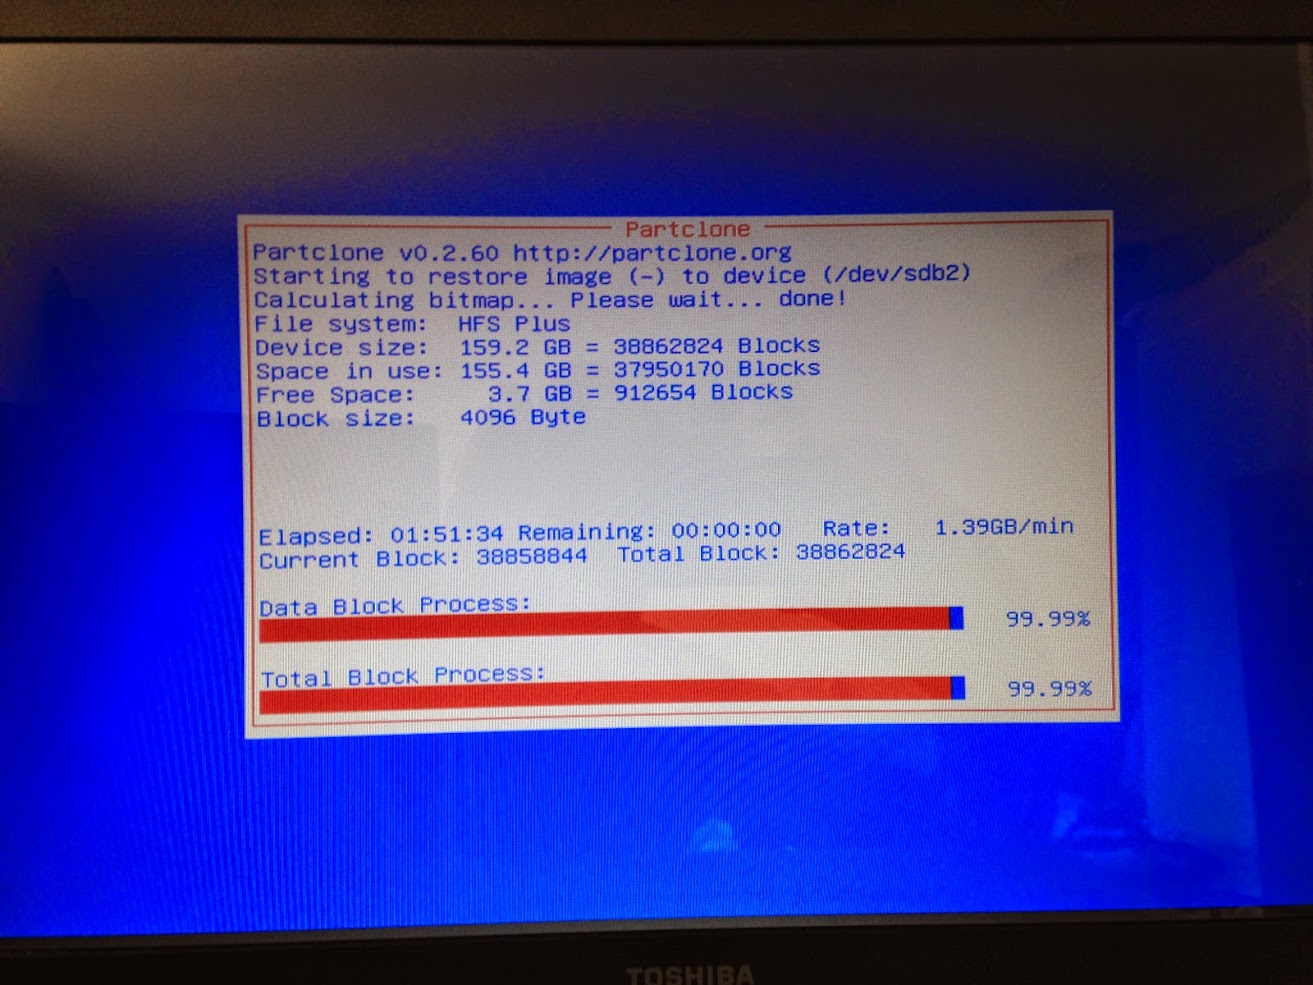
If you’ve not used Clonezilla before this guide may be of help: http://www.techrepublic.com/blog/windows-and-office/how-do-i-clone-a-hard-drive-with-clonezilla/ -Clonezilla has options to directly clone a drive on the fly. However, for the sake of an extra hour I used the opportunity to take a backup image of the original drive. Writing the whole drive image to an external hdd and then from there to the new drive. Although Dad has his own backup routine it’s reassuring to have an offsite copy. Especially one that can be cloned to any disk (160gig, or larger) in an hour, should the worst happen. When cloning a drive in this instance it’s much better to clone the entire drive / device rather than try to clone and recreate individual partitions. Creating individual partitions requires more effort and can cause complications when being written back. While the Mac Mini was apart I used the opportunity to clean and inspect it. Taking care not to do any damage while cleaning, paying particular attention to the heatsinks and cooling fans.
Mac Mini re-assembled(ish). I’m superstitious and always test a machine before fully putting the case back together / adding the last screws. The curse of the fitted case and final screws invariably means when you test it you’ve forgotten something and have to take it apart again. Leaving it this way you don’t forget and it all works fine! Resizing the partition is easy using ‘Disk Utilities‘. However, during the resizing an error was thrown: “Partition failed: Couldn’t modify partition map because file system verification failed.”. This is odd because the drive was verified with no issues. A quick Google revealed a solution but no answer. If anyone could shed any light on this it would be appreciated. To be doubly sure I rebooted the Mac Mini into recovery mode (CMD + R during booting) and used Disk Utilities to run a full verify and repair. Rebooted, resized the main partition and then, for good measure, performed a full permissions repair.
With the the basics checked and everything working I put the case back on and returned the Mac Mini to Dad. Once back at home on his desk we ran through similar basic checks:
- DVD drive worked
- Sound worked
- Network and Wifi worked
- External devices worked: Mouse, keyboard, printer and USB drive
- NEW: Fans worked
- MS Office worked(ish): 2011 picked up on the HDD ID change and demanded its purchase key again. Thankfully Dad had this to hand.
Success, happy Mac Mini and a happy Dad.
—UPDATE—
Not so success…. Dad rang to say the Mac Mini had shutdown as a result of overheating. My first thought was the 7200rpm drive was too hot, having feared this might be the case when I researched and ordered it. However, it’s a new drive and Dad wasn’t overly using the HDD when the Mac Mini crashed. So I changed tactics and installed Temperature Gauge to see what was overheating, and how the single fan in the Mac Mini was performing. This revealed the fan wasn’t spinning.

Taking the case off again revealed the fan controller was coming off its tracks and therefore not calling the fan. The controller for the fan sits on the front of the Mac Mini’s drive enclosure. Thankfully easy access with a soldering iron. 1 blob of solder and 3 tracks reheated later resulted in a much happier Mac Mini. Dad’ will keep an extra eye on the HDD and overall temperatures this weekend. Removing layers of dust, cleaning the fan and the new drive should be fine, cooler than before even! Another lesson learnt and thing to check for before putting the case back on…
